
How to create an endpoint. “Hello World Tutorial”
Topics covered:
- Create a new project.
- Add a “Listen to Request” Action.
- Send a response.
Create a New Project
The first thing you'll need to do when building your own processes is to create a new project. Do the following to create a new project.
- Log in to Instalink.io.
- To log in to instalink.io be sure that you have your username and password handy.
- Then go to... https://admin.instalink.io
- Enter your username and password. You'll be presented with the dashboard when you log in successfully.
- Select “Projects” from the menu on the left. You will then see a listing of your projects on the following screen. Your list will be empty if you have not yet created any projects.
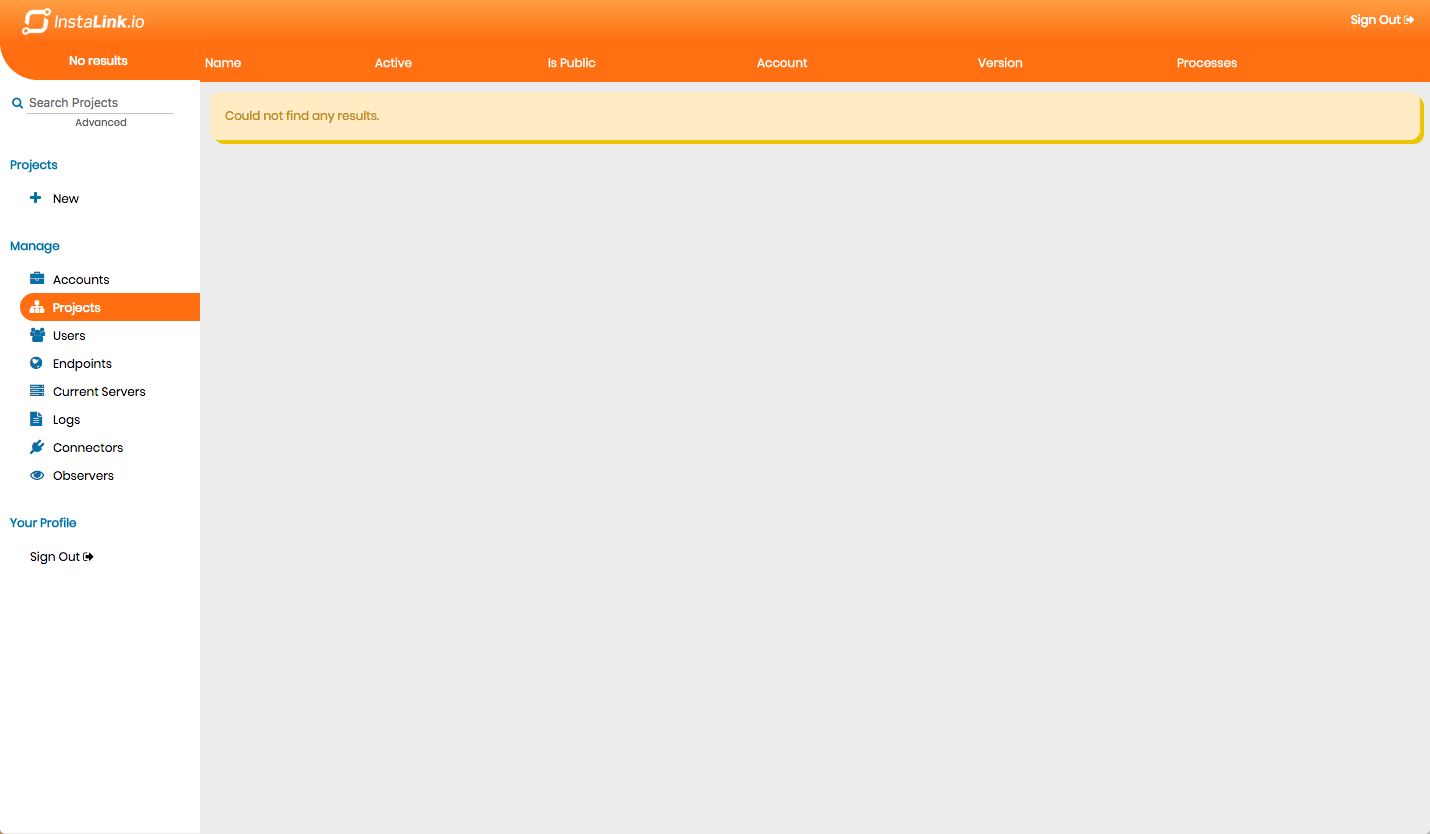
- Press “New” from the menu on the left to bring up the Project creation screen.
- Name your project. For this tutorial, let's call it “My First Project”. You can set this to anything you'd like or change it later if you need to.
- Be sure to leave the “Active” checkbox selected. Your project must be Active to process incoming connections.
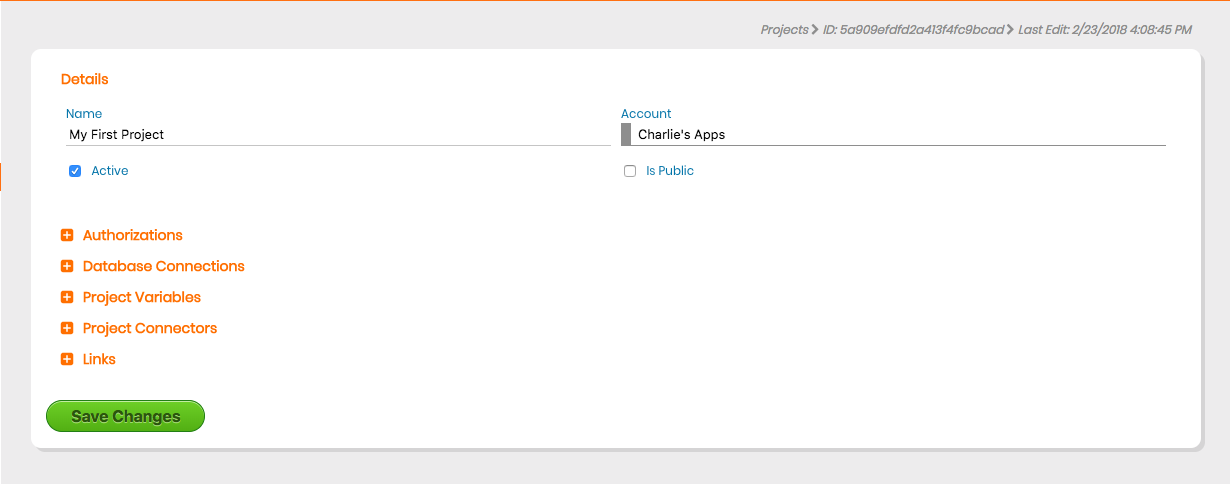
- Click “Save Changes” to create your project.
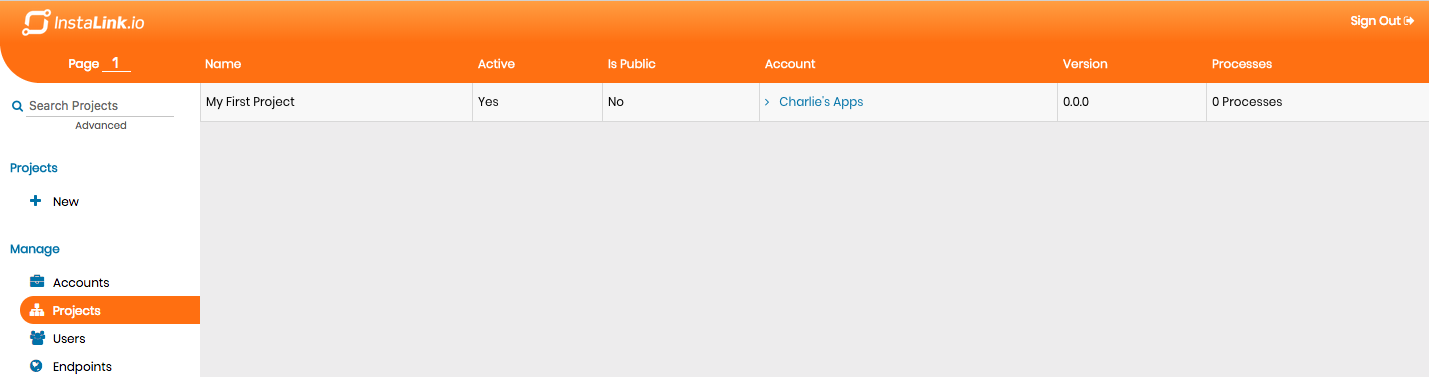
- You'll then see your newly created project in the projects list. Click on the listing to begin editing your project.
Add a “Listen to Request” Action
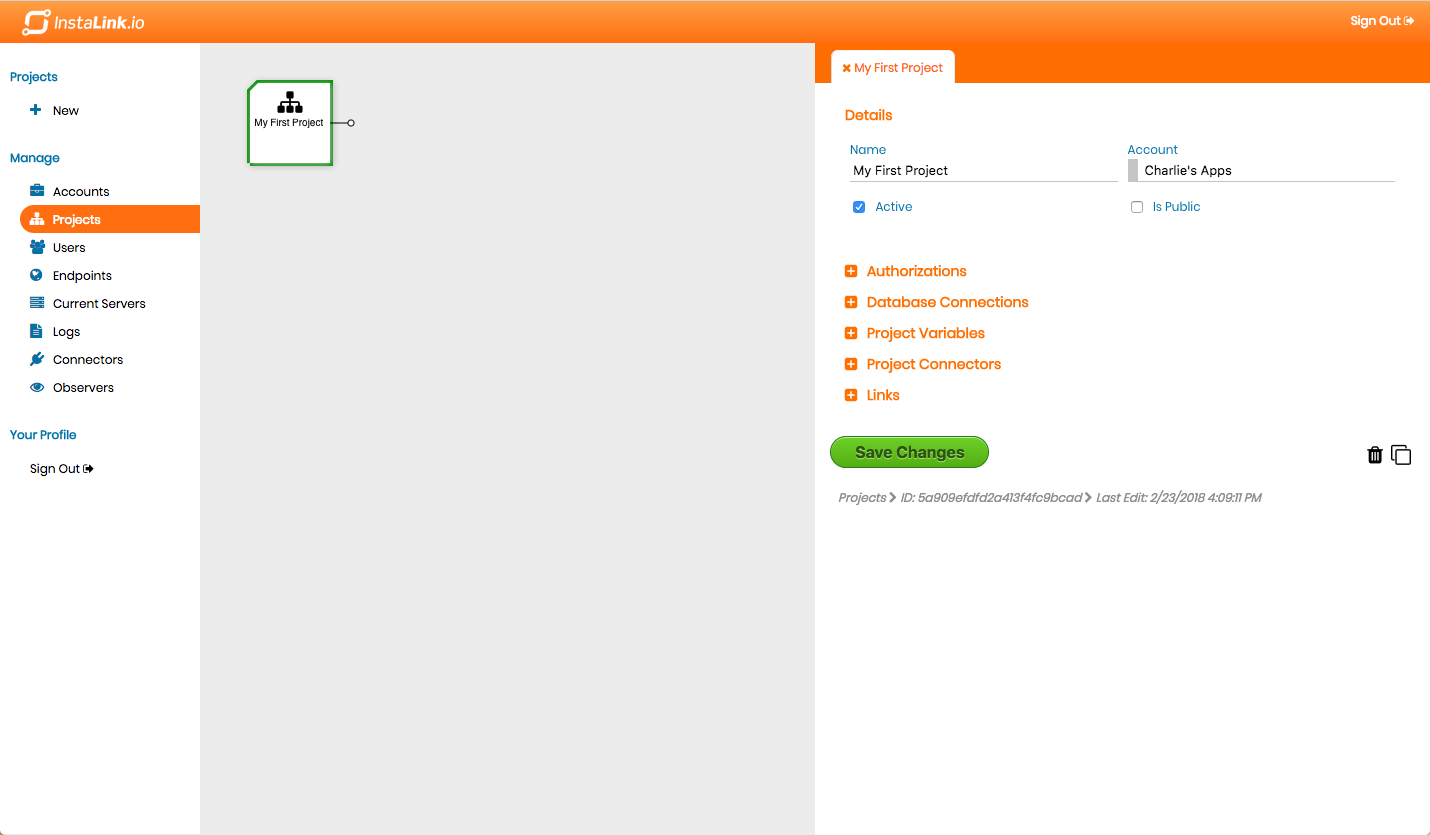
Once you enter the editing view you are presented with Instalink's Graphical Process Modeling (GPM) interface. This interface allows you to view and create processes that execute on the Instalink service. Because the interface is graphical, it allows you to create your data flows without any programming or server management. Your data flows can be as complex as you need. For this lesson, we're going to create a very simple process. This process will listen to an http request and return a response.
- Click on the box labeled “My First Project”. We call these boxes Actions. When an action is selected, you can see all the details concerning the action in the right pane. Here we can see the details of the project we just created.
- Now let's make a new action. To do so, click on the small circle at the end of the line protruding from the “My First Project” action. We'll call this specific circle the “Insert After Node”. Because Projects don't actually execute anything, our new action will be considered a Top Level action.
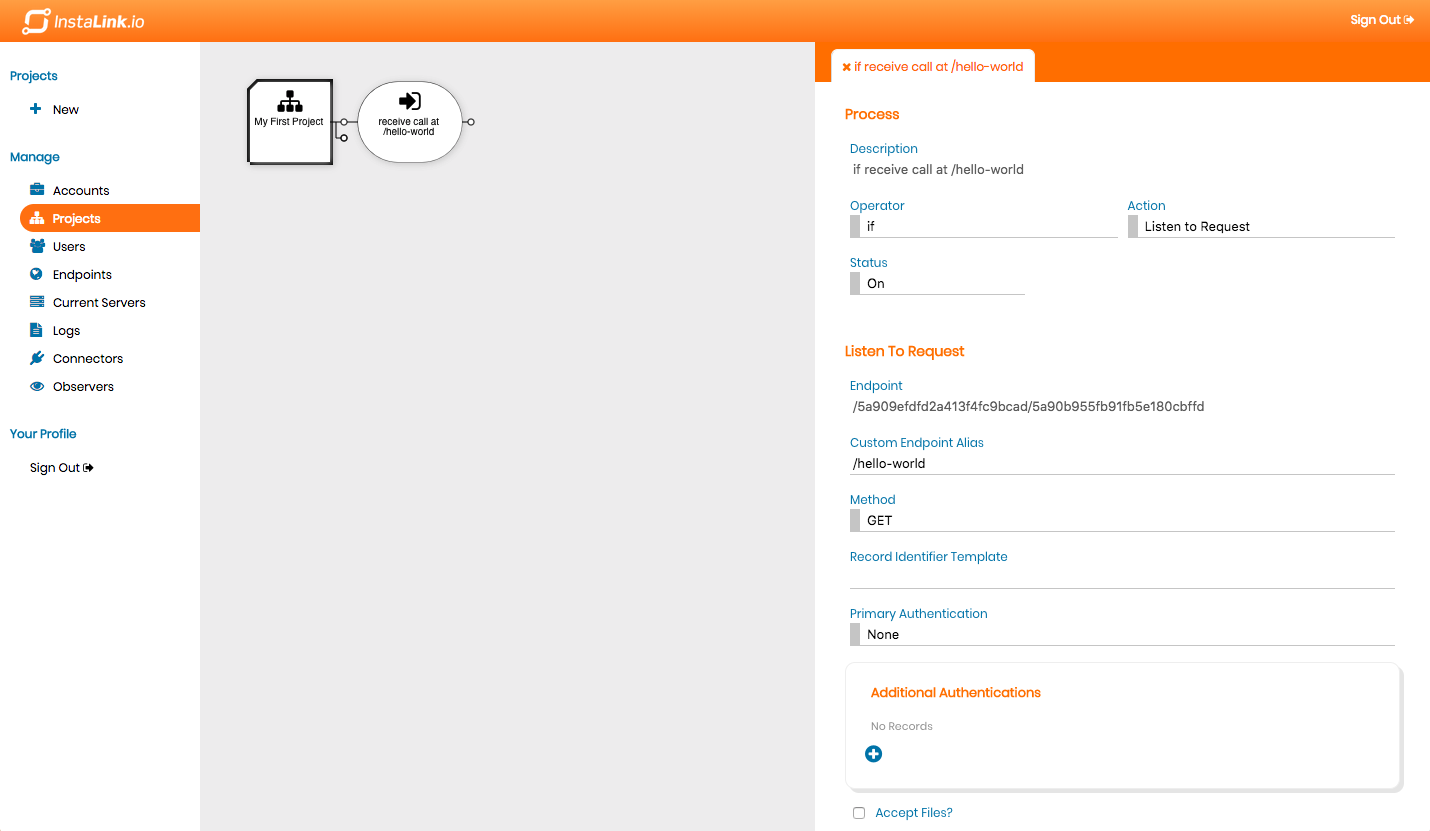
- You'll should see a new tab appear in the right pane that is named “Process”. This view will have several sub headings. You'll notice that the Process heading will have three fields: “Operator”, “Action” and “Status”.
- Ensure that IF is your selected Operator. Also be sure to have “Listen to Request” selected as your Action. All Top Level actions will be the “IF” operator. Think of creating data flows like writing a sentence where you're asking the service a question. For example the data flow we're creating in this tutorial can be thought of like this...
“If listen to request then respond with success.”

operator = IF
action = LISTEN TO REQUEST
operator = THEN
action = RESPOND WITH SUCCESS
IF operators will always start your flow.
THEN operators will run after the previous action has completed.
- Scroll down to the “Listen to Request” section of the form. Enter the path that you would like to use for your endpoint in the field labeled “Custom Endpoint Alias”. This creates the address where your endpoint will be called. Let's name our path:
hello-world
That will mean that when we're ready to call our endpoint we will call it at:
https://yourdomain.instalink.io/hello-world
Of course you would replace “mydomain” with your actual Instalink account domain.
- Scroll to the bottom of the form and click “Save Changes” to save your action. You should see your new action in the GPM view.
Send a Response
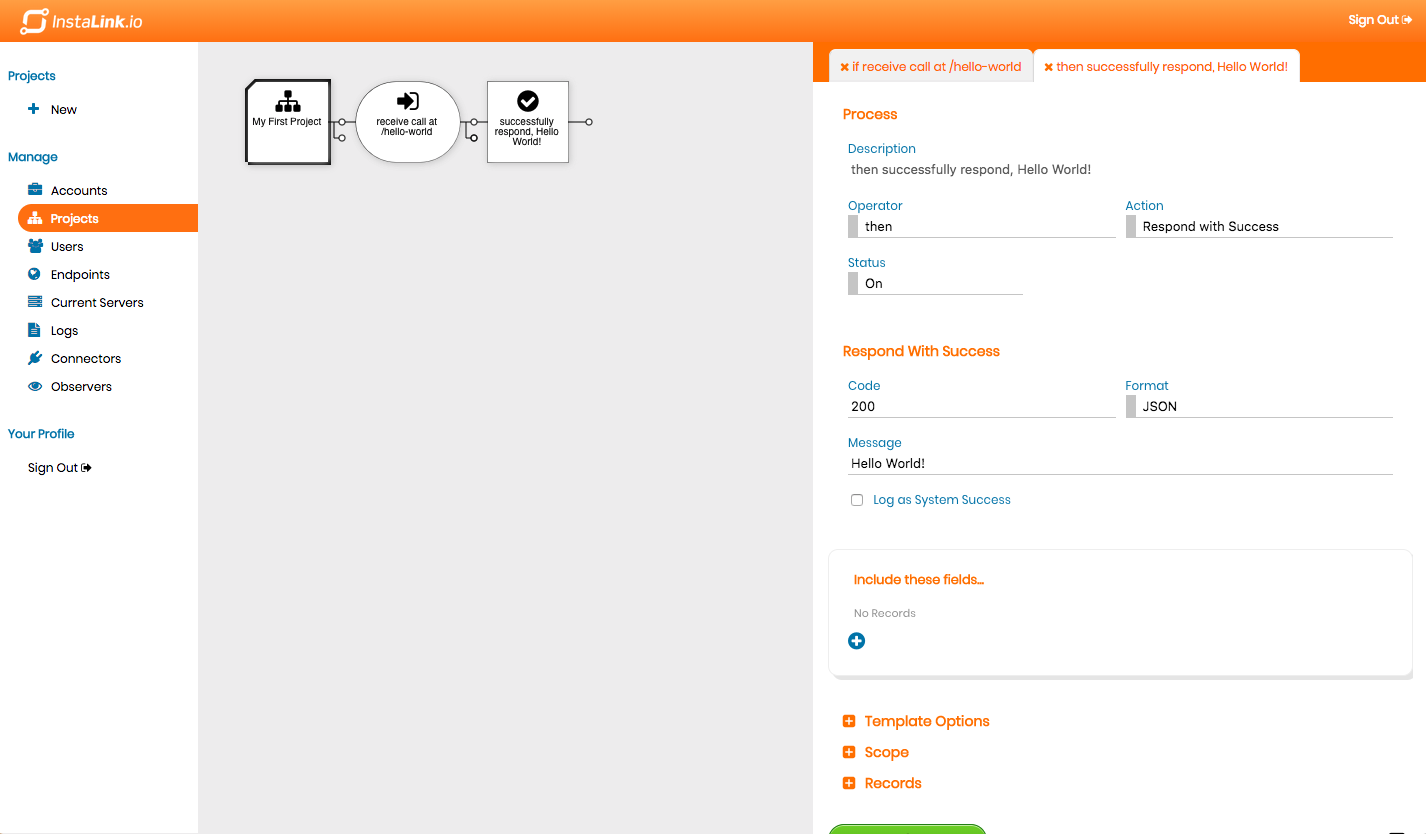
- Our endpoint is just about done. Before we can test this, we need to add the second action that we described above which is the response. To do so, click on the insert after node for the action labeled “receive call at /hello-world”. Notice that a new process tab appears. This time the Operator defaults to “then”.
- On our new process form select “Respond with Success” from the Action drop-down. You'll notice that the “Listen to Request” section disappears and is replaced with options specific to the “Respond with Success” action.
- Change the value of the Message field to be:
Hello World!
- Click “Save Changes” to save action. You'll see the GPM view update to reflect that the new action has been added.
- Now let's try it out. Open up a new tab in your web browser. Let's navigate to your URL to see our data flow in action! Remember your url will be:
https://yourdomain.instalink.io/hello-world
When your page loads, you should see the following text in your web browser:
"Hello World!"
If you don't see this message, check through the steps again to ensure that everything is set up correctly. If you see the following message in your browser window:
{
  "code": 200,
  "message": "Success",
  "data": {
    "status": "READY"
  }
}
That means that you aren't at the correct address. Be sure that the path that you're typing into your browser matches the path that you selected in the admin panel.
If you see the following message:
{"error":"no service available"}
That means that you typed in a domain that does not exist. Be sure that your domain matches what you selected for your account.
Conclusion
Great work! You've set up your first project and your first working endpoint. You learned the basics of creating projects and actions. You also learned the basic semantics for how data flows are represented in Instalink.
In the next tutorial, How to Connect My Endpoint to Another System, we'll expand on this project and cover sending calls out from your service, handling the response and creating logs.
